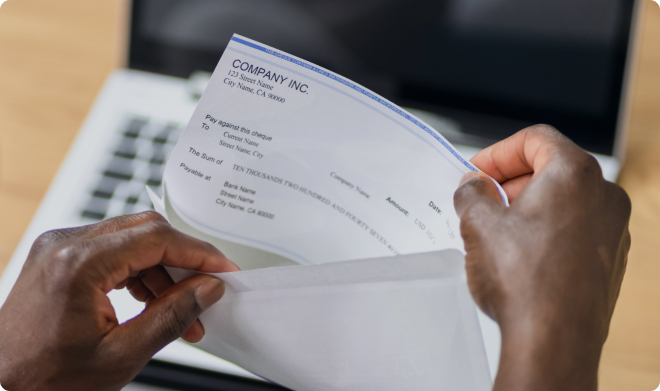
Operating since 2008 as a payment delivery company, Checkissuings business clients authorize Checkissuing to create payments to be sent out on their behalf.
With Checkissuing’s Digital Check product, a business client initiates and sends a check electronically to their payee via a secure email link. From that link, the payee prints the check using a laser printer and standard copy paper.
A digital check, when printed, is a fully valid check and should be processed like any other traditional paper check. Since a printed digital check is presented without MICR ink and is on standard photocopy paper, branch staff may have questions on how to handle this new form of payment.


This check was printed from an authorized check record. This is not a Check 21 replacement document.
To confirm this check was issued by the account holder and details (pay to, amont, account and routing information), please verify by contacting the issuer at 866-535-3954.
This check should process smoothly through check processing optical readers due to not having MICR ink. If the check does not pass IQA (Image Quality Assurance), follow the tips outlined in Handling Image Quality Assurance Errors when Processing Teller Transactions before processing it as an unscannable check.
Trouble Scanning? – If you are having trouble scanning the check, please enter the account information manually.
Contact branch manager – Many branch managers are familiar with digital checks that adhere to standard banking check specifications.
Printing the check – Save a digital copy in a PDF. Any printer works using black or color ink. Basic white paper works, although thicker paper stock is preferred (24# is ideal). In your printer settings, make sure the it is set to actual size and not fit or shrink oversized pages.
Mobile Deposit Option – Using a computer screen or tablet in conjunction with your smartphone, click the mobile deposit button. Click the “Front of Check” button and use your banks image capture app to first take a picture of the front of the check. Then click outside the box or push “esc”, and then click “Back of Check” button, line up the endorsement line, and take an image of the back of the check. Then click the deposit button.
ACH Direct Deposit Option – Click the ACH Direct Deposit option and follow in the instructions to enter and submit your information in order to receive an ACH.
Request a Printed Check Option – Click this button and enter your address information for a check to be sent out to you USPS First-Class mail within 36 business hours.


Call us or write an e-mail
Make sure your printer settings are “Actual Size”, not “Shrink to Fit” or “Fit to Page”.
Contact us today to get a demo and find out how we can help with your printing and mailing needs!